What is this?
This is only an enclosure. No buttons, joystick, and PCB. Only the plastic panels and the items needed to build the box. All the components needed you will need to get separately, whether it’s on our website or elsewhere.
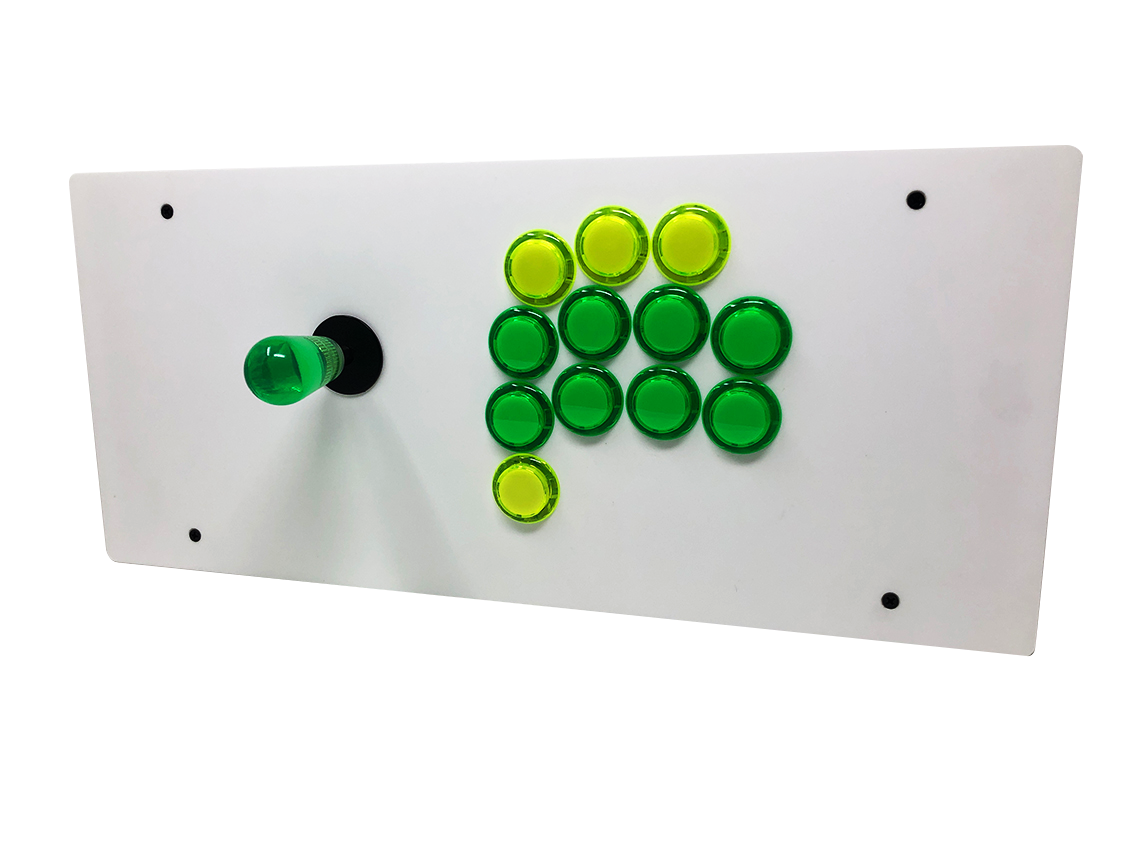
What's a Dual Layout
Stickless layout with a joystick.
What's a stickless controller?
A button layout that simulates a keyboard. So no joystick.
It’s like building a computer.
All the components are sold separately. Depending on how much you want to spend you can trick out your fightstick with the best components around, or just bare minimum to play arcade games.
What is made out of?
The enclosure is made out of cast acrylic (plastic).
The case is fragile. We do not recommend dropping it or throwing it against the wall. It can easily crack if you are careless with it.
Is it easy to build?
Yes. It's kind of like IKEA furniture. Manual included. No Glue needed.
Why do I need this?
- DIY. Fun to build.
- Start with an open canvas, there's no need to deal with low quality stock components and color buttons you don’t want.
- Customizable
- Add art!
- Play arcade games.
Specs
Width - 18in
Length - 8in
Outer height - 2.25in - 2.5in
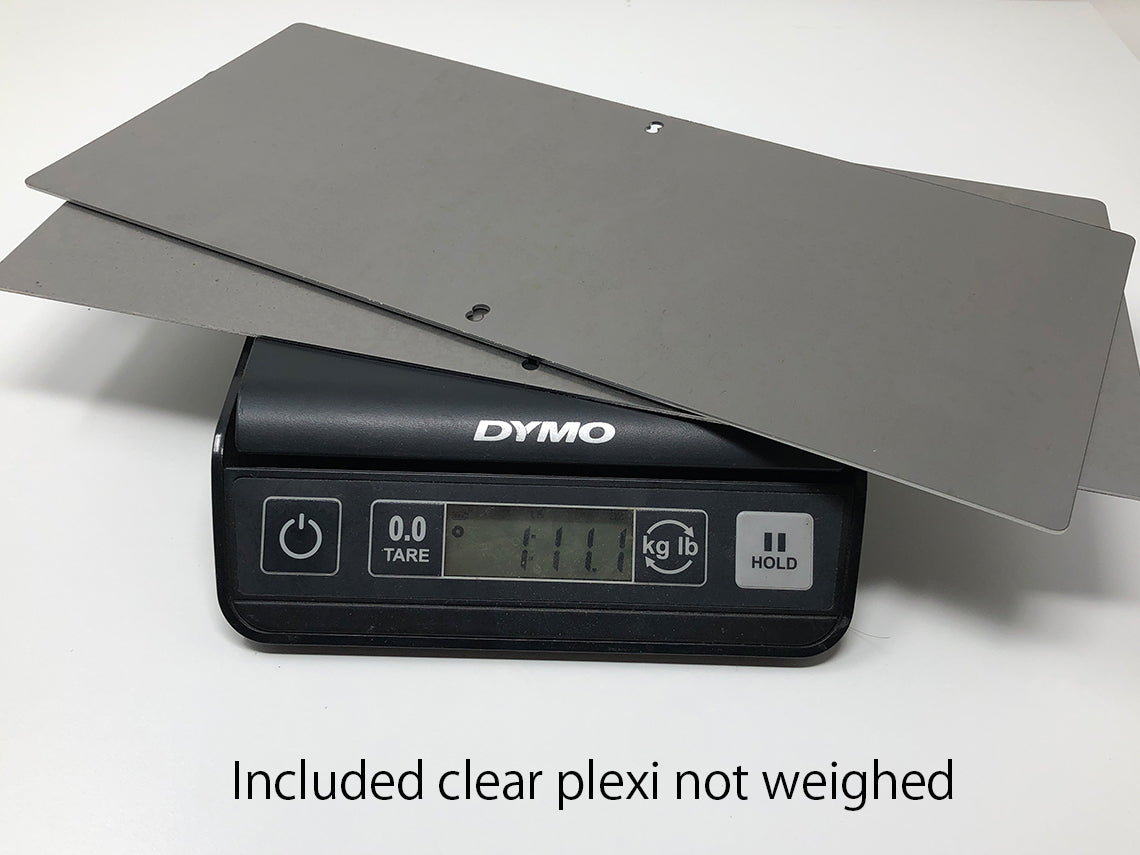
Weight - 3-4 lbs - nothing inside - can go up to 6lbs - with everything inside plus extra weight panels
Side Walls -2 Layer
Top Walls - 3 layers
Bottom walls - 2 layers can be upgraded to 3
Case options
What is Inner and outer color panels?
Here is an example click here
Do I need the extra top/bottom weighted panels?
Depends if you like it more heavy.
Pros:
More weight
Even more sturdy top to play on (Some case include 3 tops)
Cons:
Adds height to the enclosure (could be a pro for some)
What is feet with flush mount?
The bottom of the case will allow you to flush mount the bottom or install rubber feet (hardware included)
Component Wiring and PCB Kits – (Stickless)
- Kits are available on our store that has all the inner components on one product listing. Can find it here. THE KIT DOES NOT COME WITH BUTTONS AND JOYSTICKS. Recommend getting the Stickless kit and you'll need a joystick cable (usually comes with the joystick).
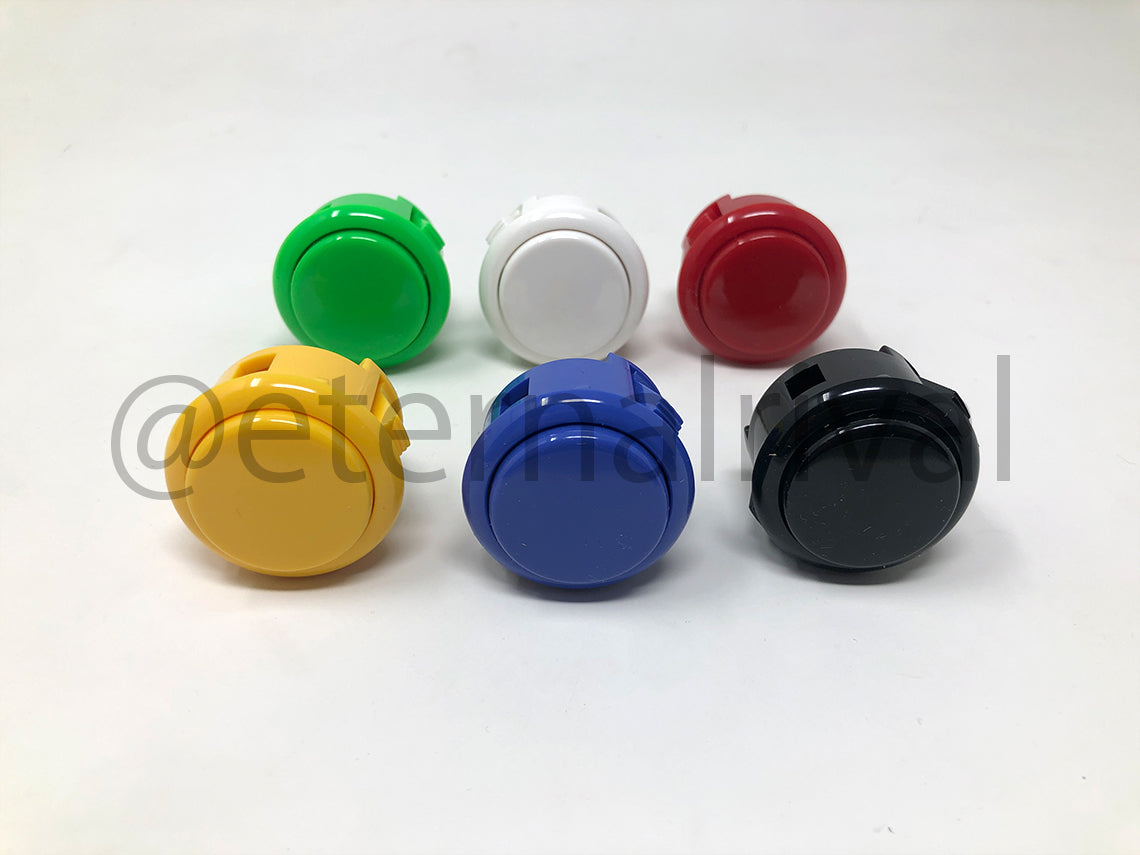
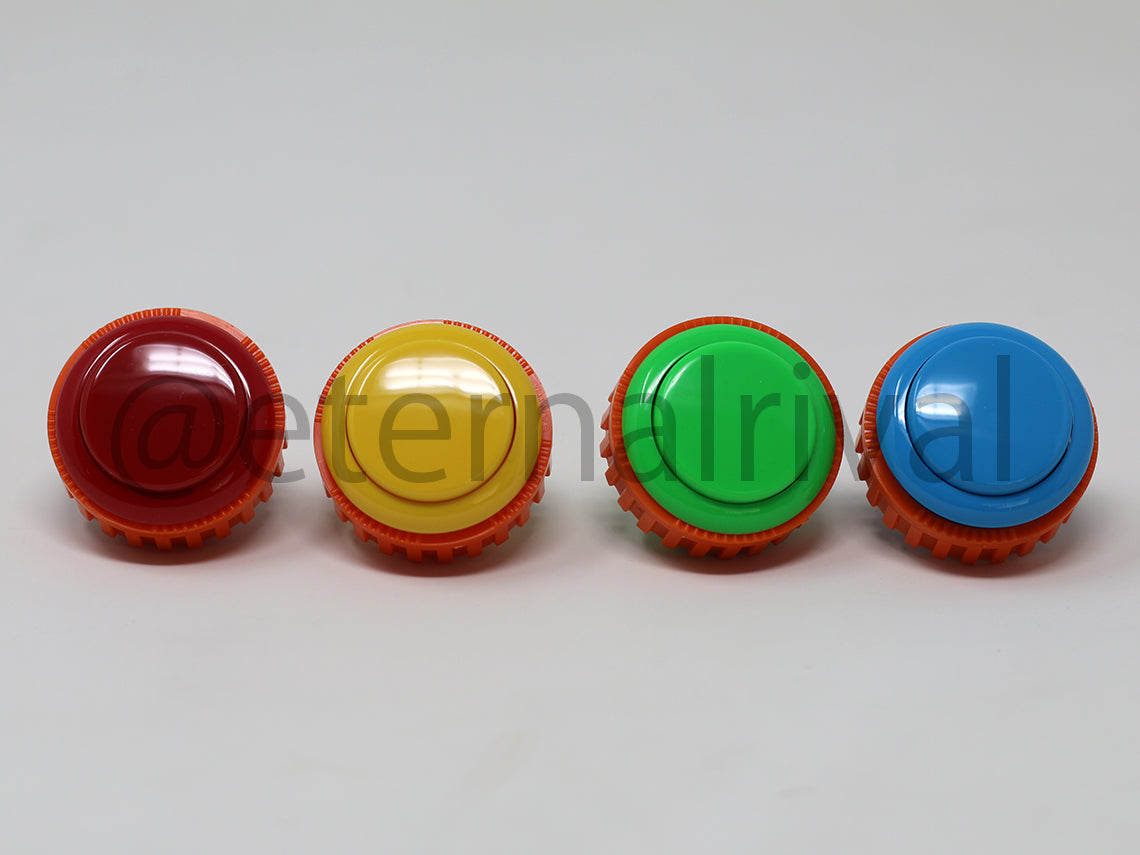
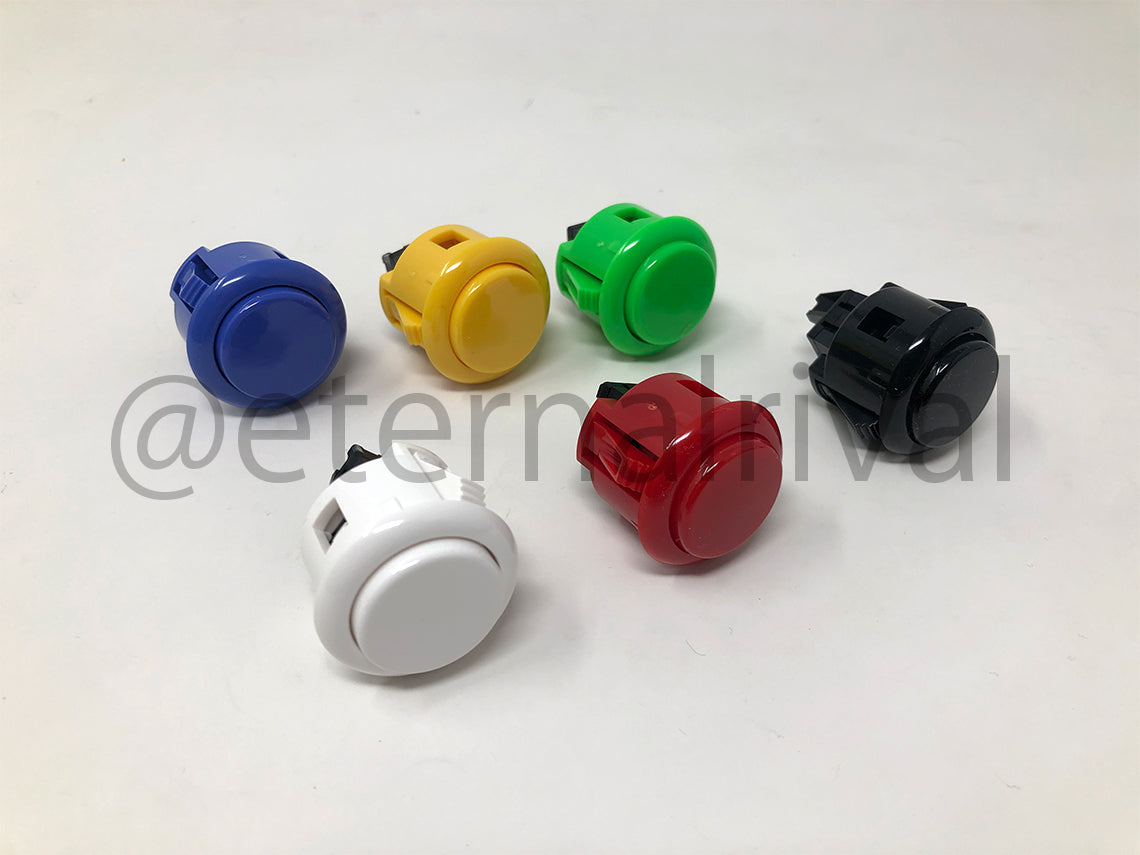
- For Buttons here
- For Joysticks here
Needs Joystick:
- In the options below please specify the joystick you are using.
- Enclosure will fit any flat bracket joystick you desire. Does not fit Industrias Lorenzo (euro) Stick
- What is Joystick mounting hole upgrade? Image Link
- For Seimitsu/Crown/Fanta joystick users please be sure to add the model number. Not all Seimitsu joysticks have the same mounting holes. Seimitsu joystick must be a flat bracket.
- Does your enclosure fit full collar K levers? Yes, please specify model number and brand below.
Needs main action buttons needed for Hybrid X
-
OG STICKLESS
-
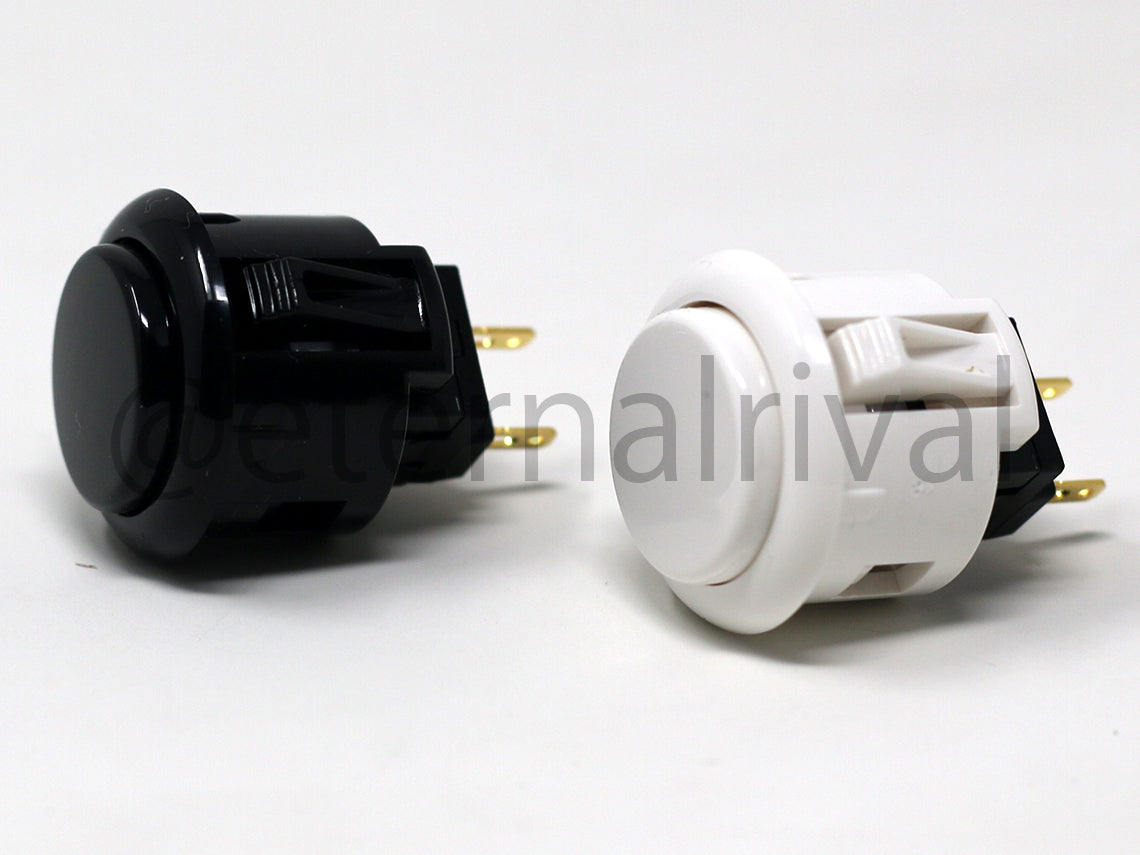
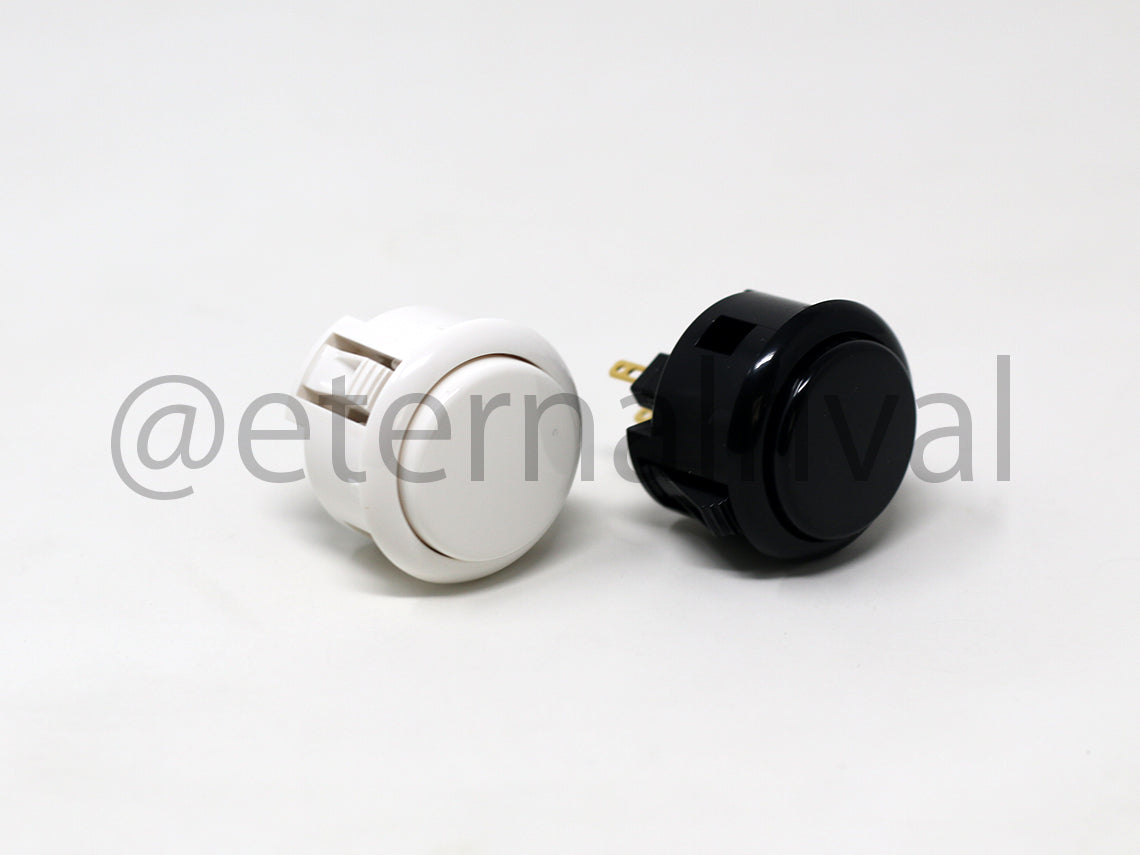
6x 24mm buttons
-
12x 30mm buttons
- SNAP-IN Buttons for the Top Only due to the tight design
- Does not fit Euro/Happ style buttons
Needs AUX Buttons (side buttons)
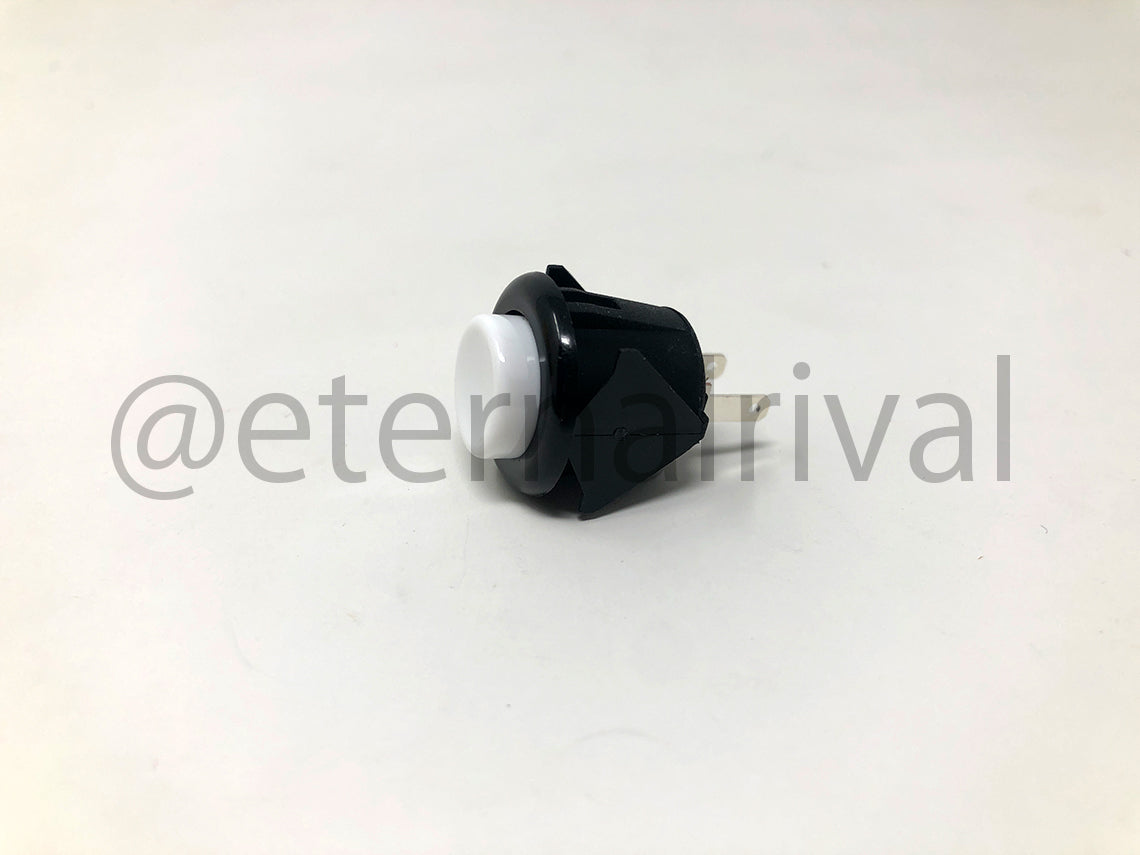
- The AUX/UTILITY buttons fit 24mm buttons. Total 6.
- Screw-on and snap in are compatible
- Does not fit Euro/Happ style buttons
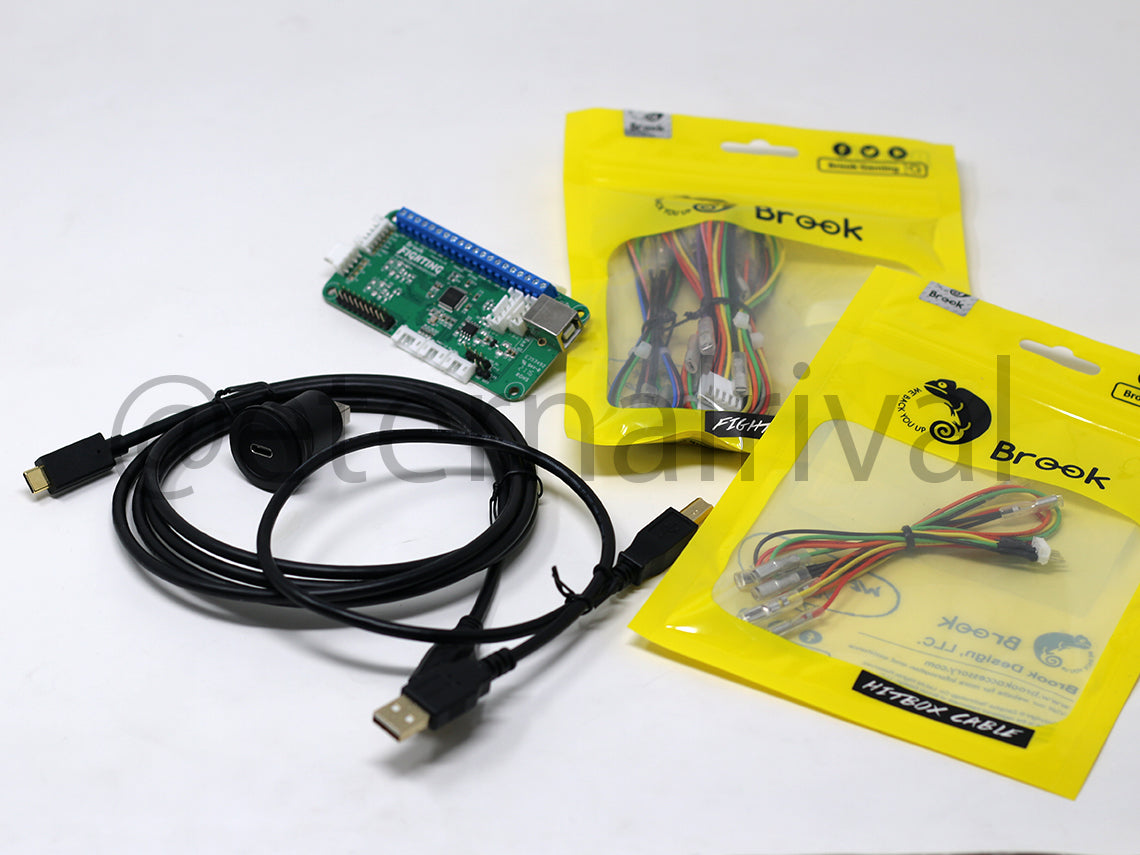
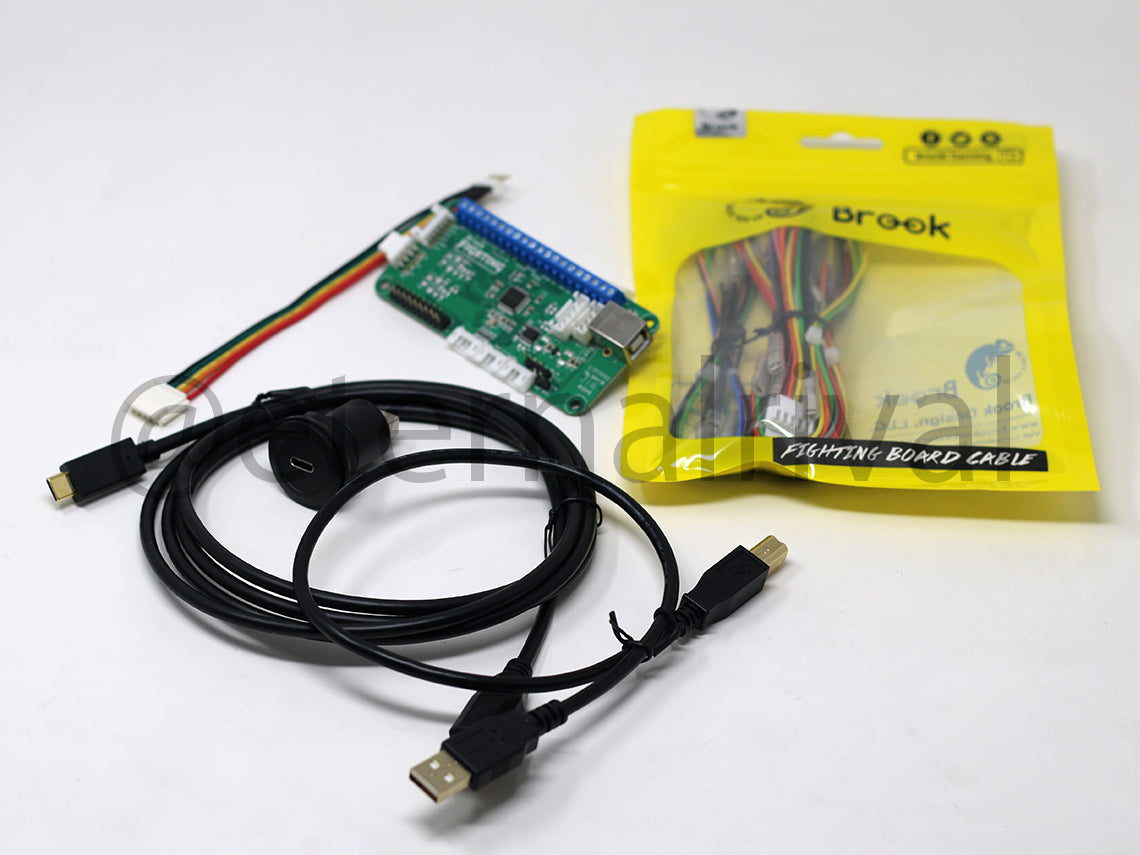
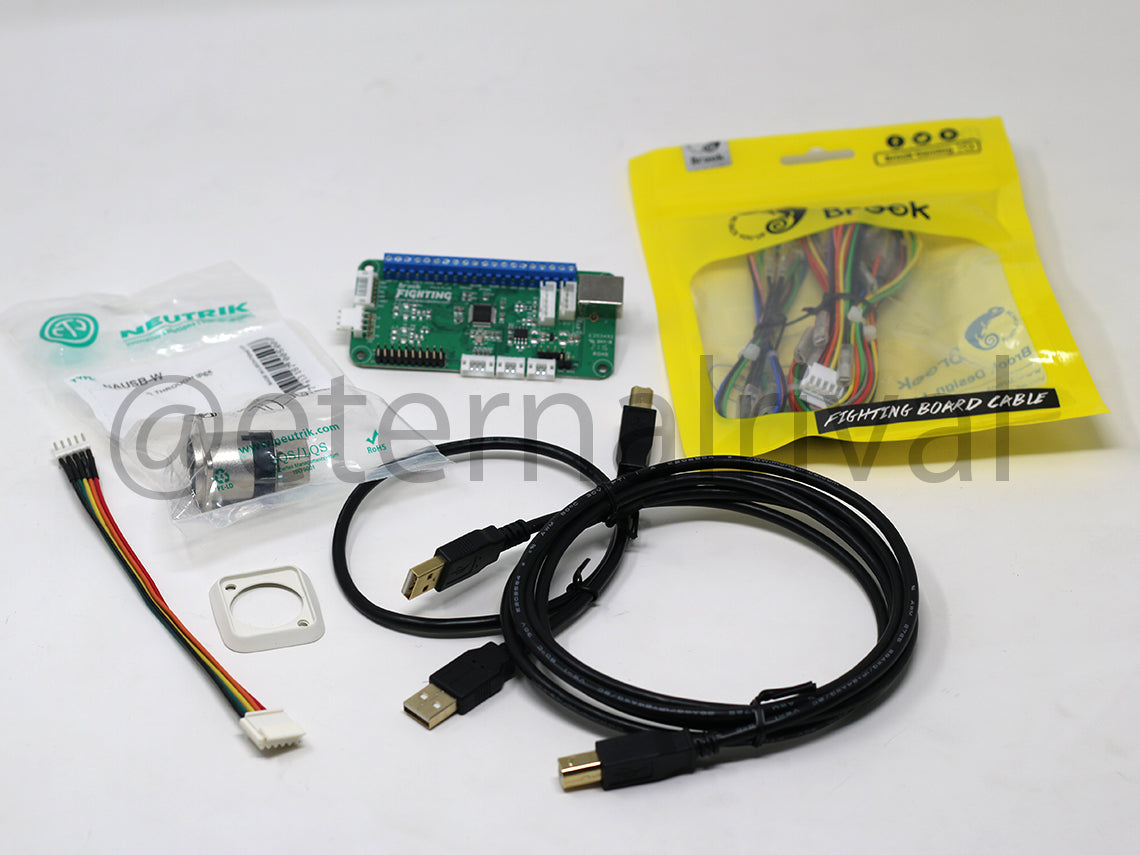
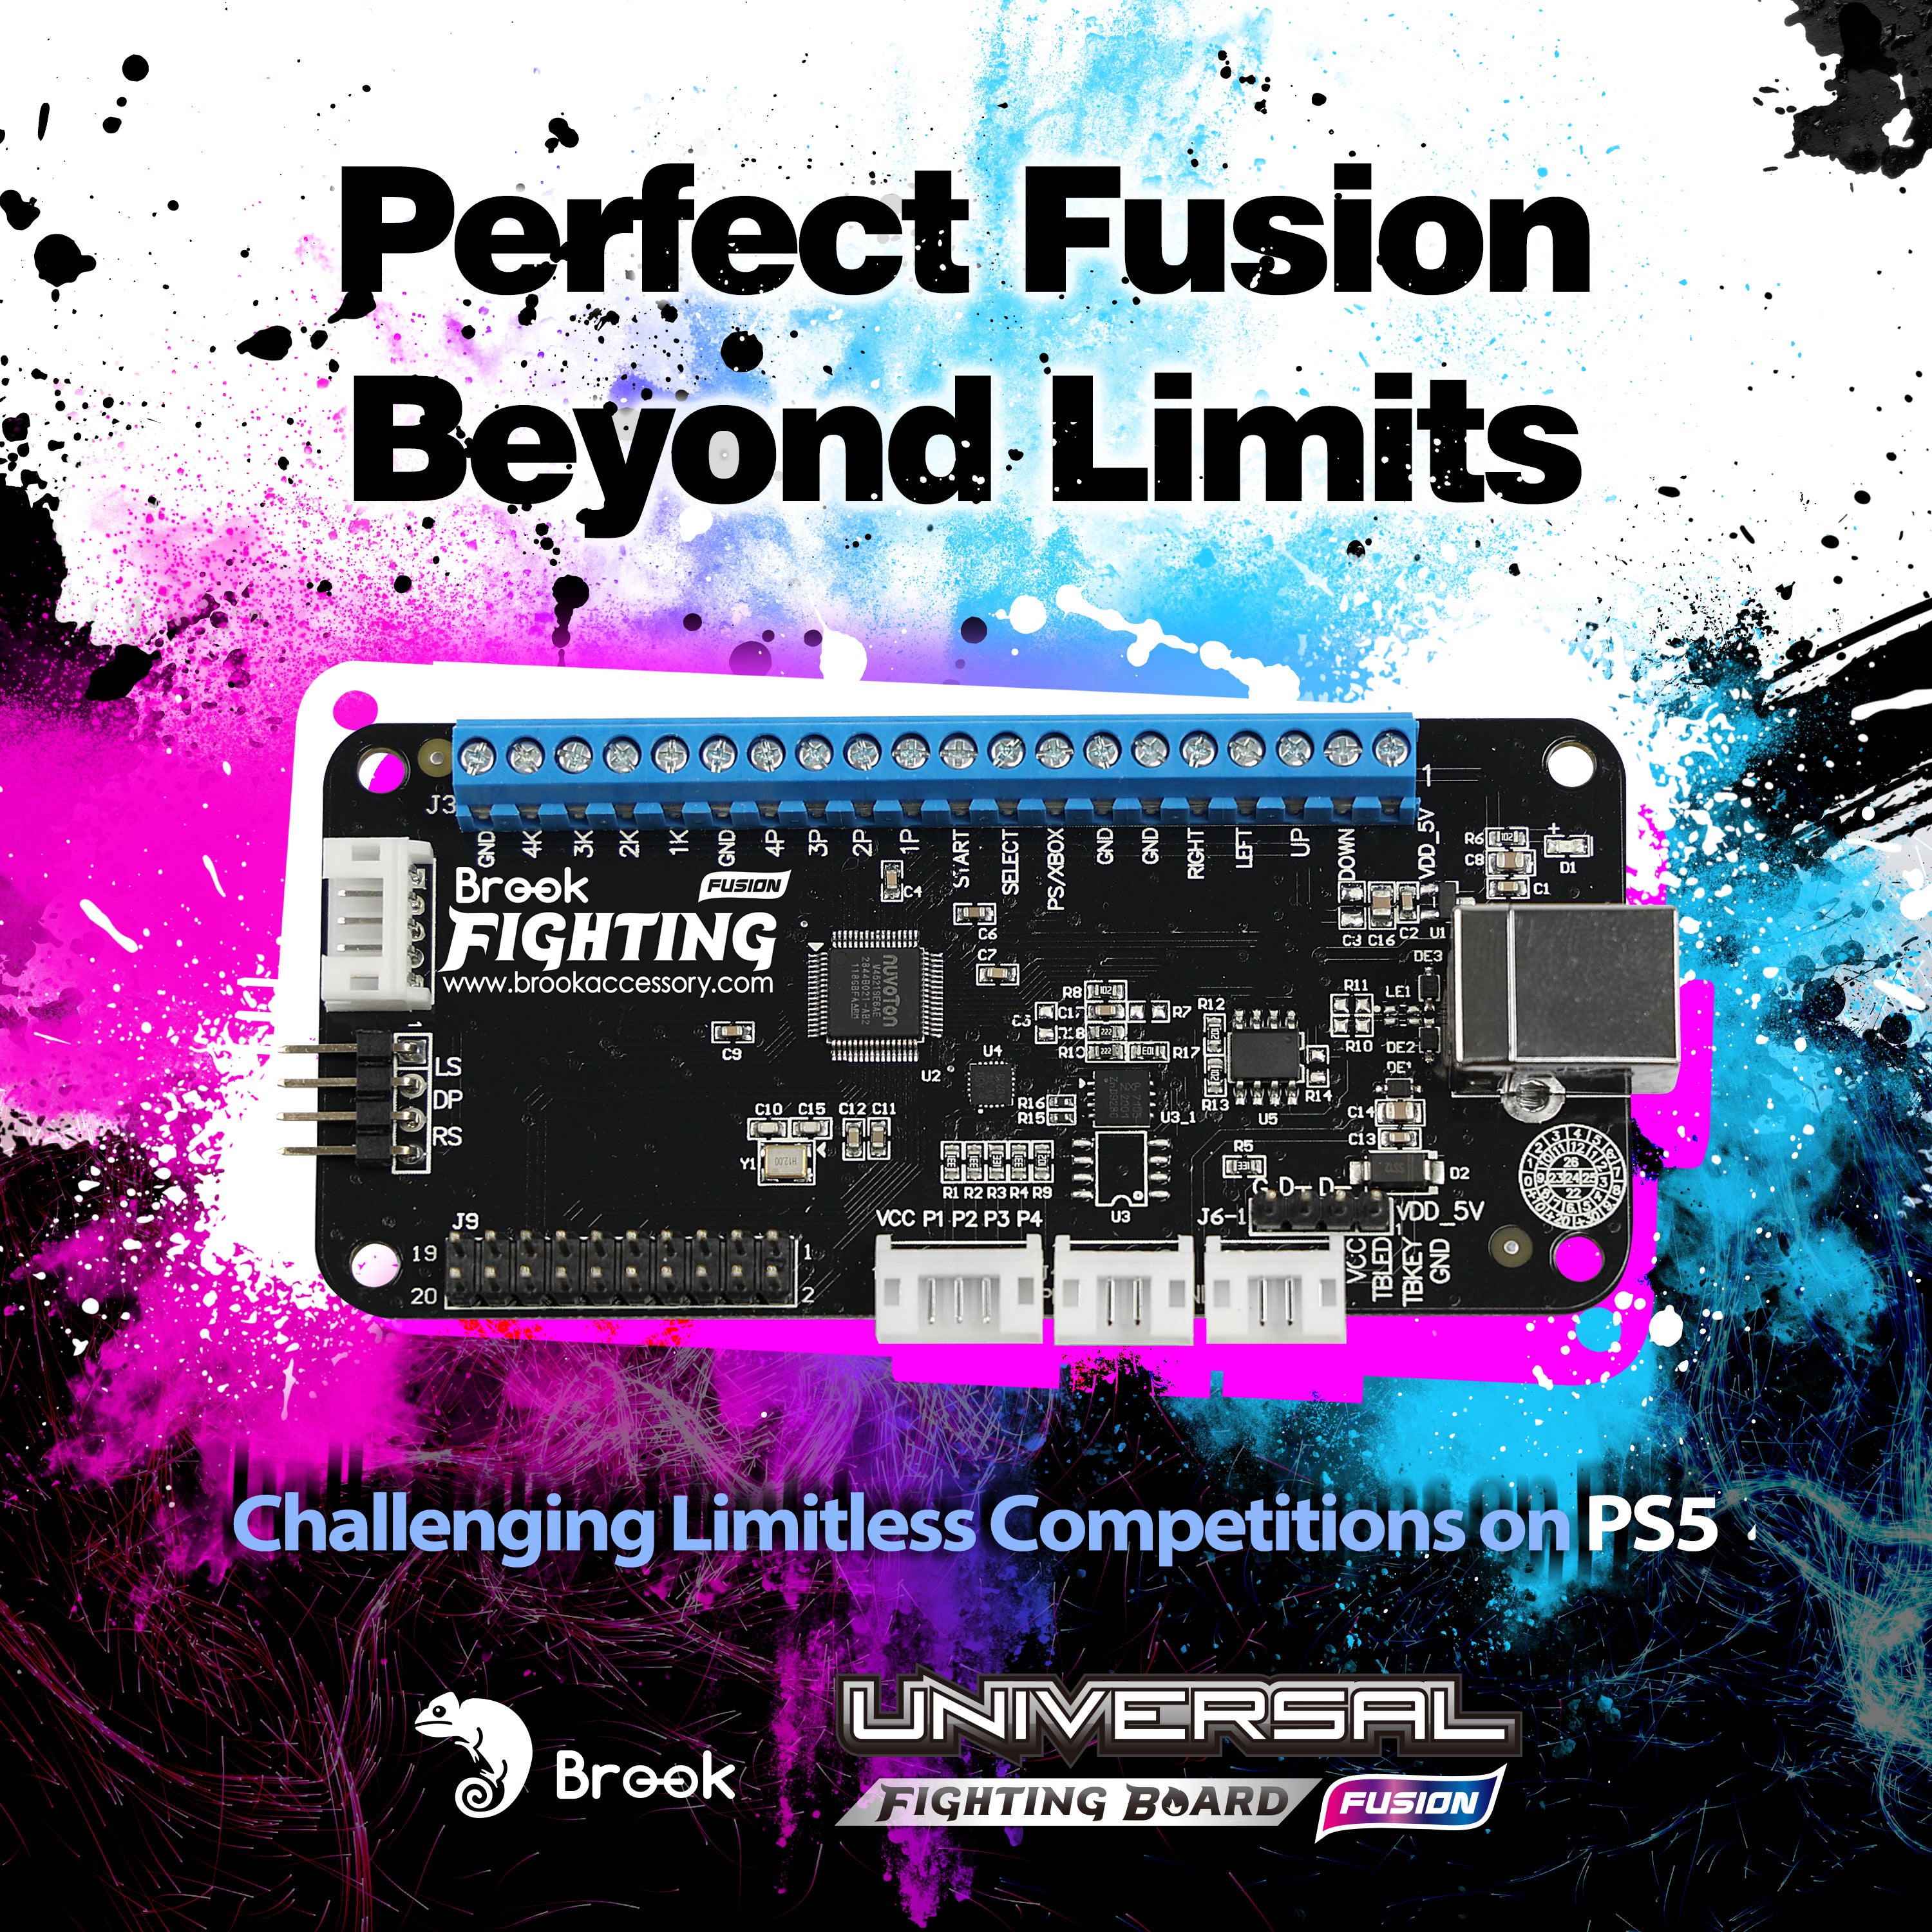
Needs Brook PCB (chip/brain)
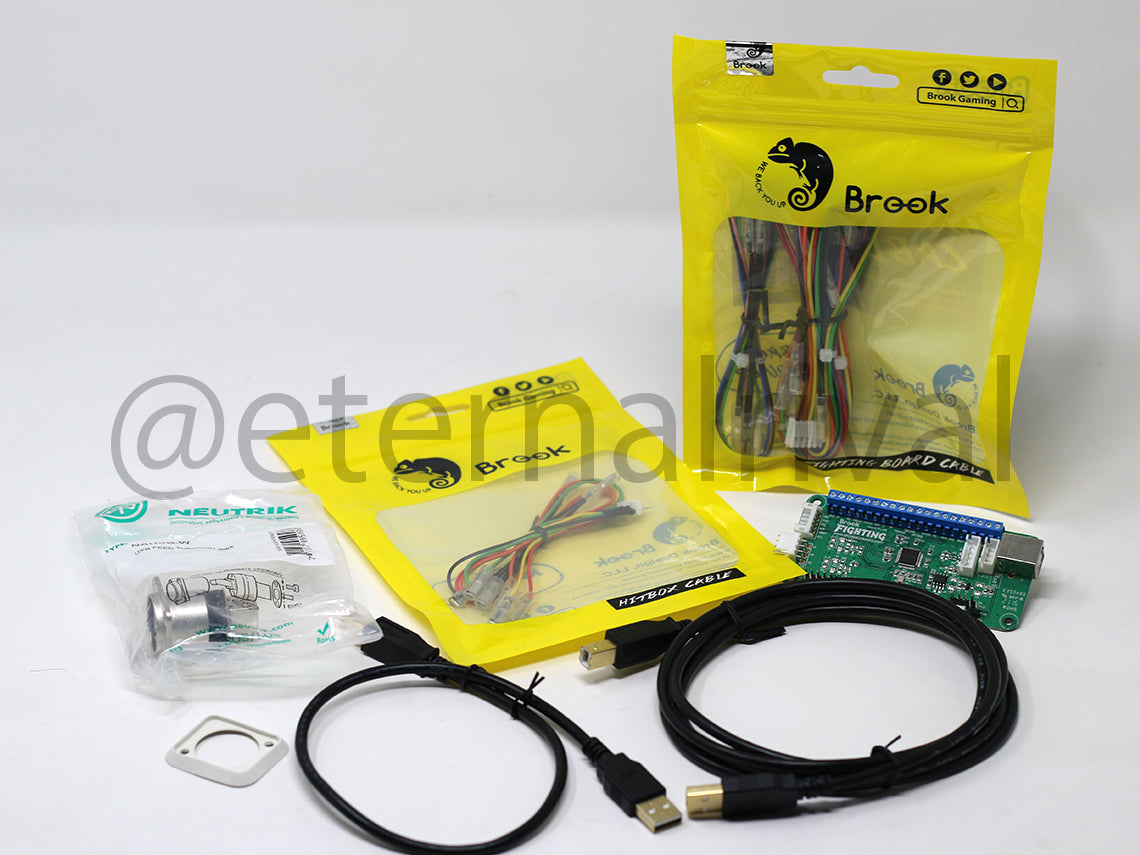
- The PCB is where all the buttons and the joystick are connected to. Which then outputs to a console(s) of your choice by USB connection.
- Enclosures fit any Brook Fighting Board PCB
- Any PCB that is not a Brook will need adhesive stands
- Mounting holes and hardware are included for free. (can be upgraded)
Needs Passthrough
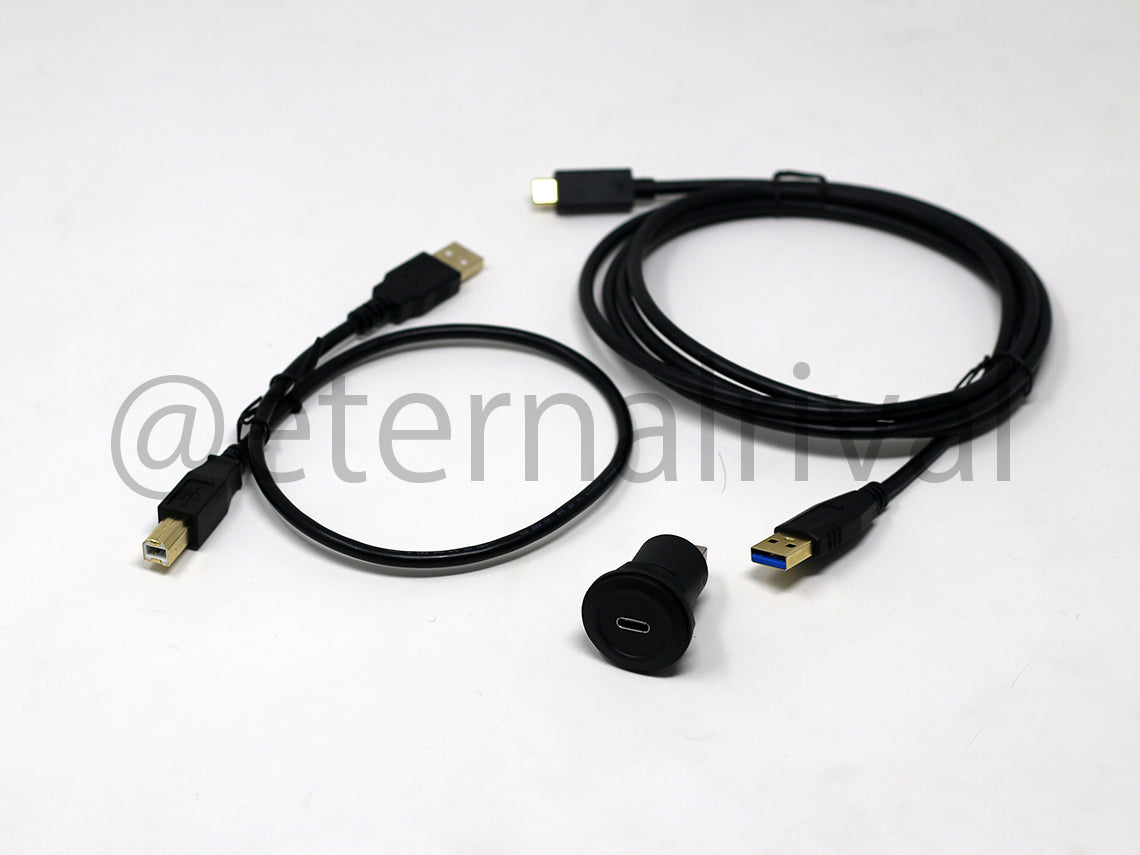
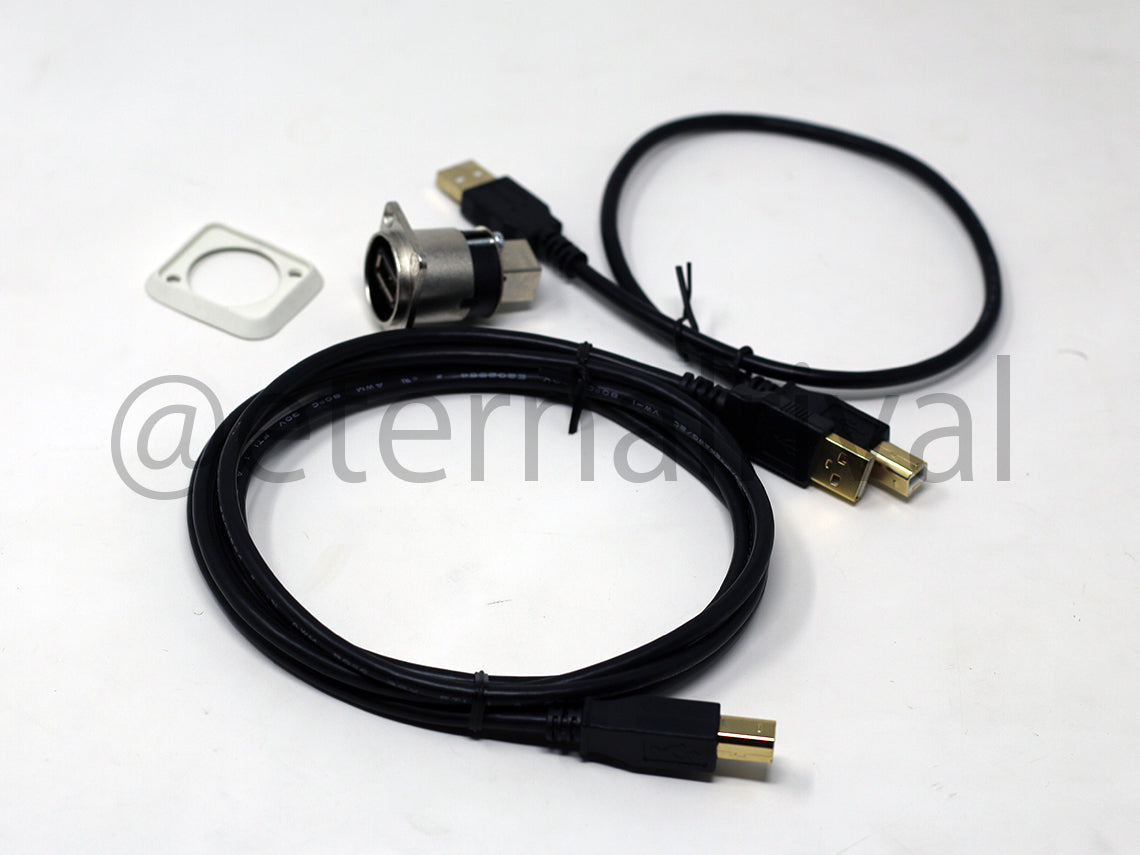
- Passthrough device is located on the front panel where you disconnect the wire from the case. It’s mounted on the enclosure
- Our cases can fit any of these 2 passthroughs
- USB C Adafruit
- Neutrik
Needs Wiring (hybrid x)
-
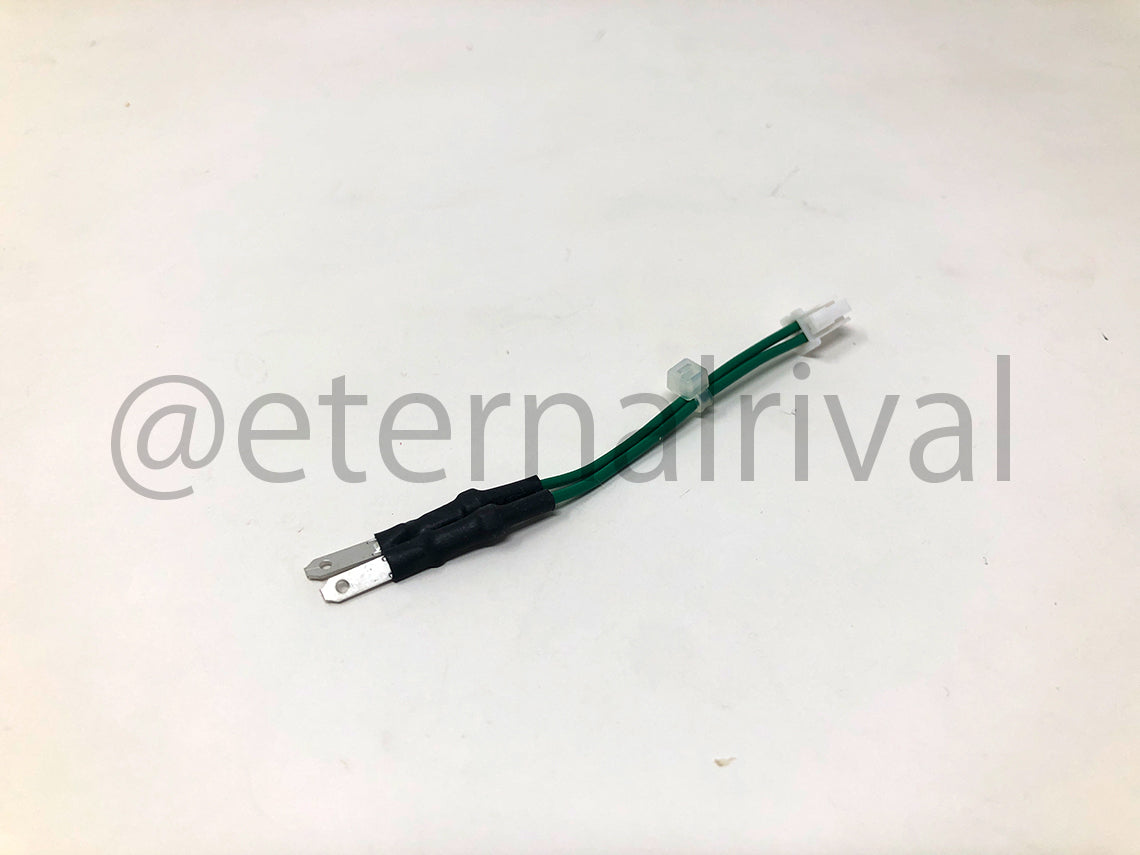
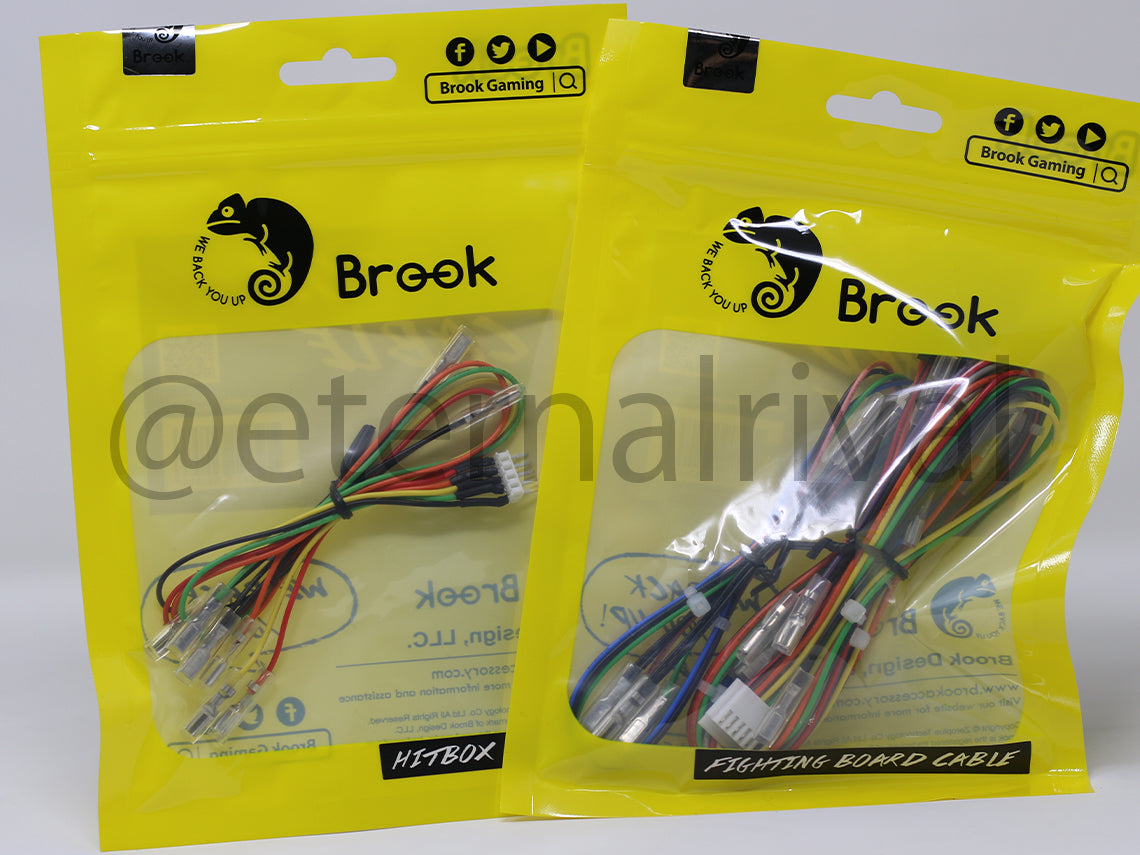
20pin wire connector. Connects to the pcb --- which connects to the main action buttons, share, home, start and the joystick. Ground wire must be connected to each connector on the button (does not matter which prong).
-
L3/R3/TK wire connector. Connects to the analog stick buttons the touch key.
-
Short Printer cable. Connects to the PCB and Passthrough
-
Long (Printer or USB C to USB A) cable . Connects to Passthrough to console.
- Stickless Cable
- Joystick cable
How do I wire this together?
Use the 20pin with the Stickless cable together. And the joystick connected manually to the screw terminal on the brook pcb.
Here is a diagram for the stickless part. Click here
Optional Add-On
LEGAL FOR ART PRINT
If you knowingly violate copyright by printing copyrighted photos for personal use, you are liable to pay damages to the copyright owner. If the image is registered with the copyright office you may be required to pay statutory damages and all attorney fees. By ordering from Eternal Rival and accepting our Terms of Service you accept responsibility for ensuring you have proper permission and license to reproduce the image. Sometimes it is as easy as simply asking! Many photo studios, or artist will hand you a release to copy the prints you buy if you ask for it, and if you purchase hi-res files from your photographer or artist they will likely also include a release. Some places may want to charge extra for this or they may not allow it at all, preferring to have you order all copies and products directly through them.
We value your privacy we now do not share on our social accounts or keep or archive or reproduce. If it is for personal use, it is best to keep it as personal use. Share at your discretion. In good faith we trust you the customer to have approve permission, or licensed artwork once uploaded as well as following copyright and infringement laws. We also have the right to deny any print if we feel it violates anyone’s rights.

